All about our family life and adventures here on the West Coast. Planting our little seeds and putting down roots.
Sunday, December 13, 2009
Needle Felting
Needle felting is my new obession! I can't believe I didn't discover this incredibly fun activity sooner. I ordered some beginner felting kits from Fancy Tiger and watched a quick video on YouTube and that was it.
I made the Christmas Cardinal first and it is so cute the picture doesn't do it justice. Then I made the little pumpkin. I took the pictures in my hand so you got a sense of the size. They both were easy and fun to make. I've order some more roving and I'm getting really excited about all the cool things I'm going to make with my new needle felting supplies!
Friday, December 11, 2009
Our Tree
Wednesday, December 9, 2009
Wreath Making
This was something new to me. I have never made my own "fresh" wreath. I decided I wanted to learn how to do it properly so I signed up for a class at a local nursery. I ended up enjoying the whole thing immensely so this will probably become a yearly thing for me.
We began by stuffing a metal frame with moss. The moss they use has been salvaged by a man that live up island. He goes and collects the moss ahead of logging vehicles up near Cowichan Valley. The moss doesn't look all that neat when it first goes in but it tidies up when you secure it in place with wire.
Then it was time to select our greenery. It was a tough choice because it was all so attractive but I decided to start with some cedar. We snipped the ends so they would go through the moss easier and did the entire outer edge. Then you had a choice of using some different greenery for the inside or making the whole base out of the same type.

I chose to embellish mine with some winter berries and a few rosehips. I am thrilled with how it turned out. It is so natural looking and just screams Christmas! If you are in the Saanich area and you would like to try making your own wreath visit Russell Nursery for information on their classes. If you aren't interested in the classes, they do have a great selection of greenery and berries if you want to make your own at home.
We began by stuffing a metal frame with moss. The moss they use has been salvaged by a man that live up island. He goes and collects the moss ahead of logging vehicles up near Cowichan Valley. The moss doesn't look all that neat when it first goes in but it tidies up when you secure it in place with wire.
Then it was time to select our greenery. It was a tough choice because it was all so attractive but I decided to start with some cedar. We snipped the ends so they would go through the moss easier and did the entire outer edge. Then you had a choice of using some different greenery for the inside or making the whole base out of the same type.
I decided to add a little fir on the inside of my wreath and I was really lucky to find some branches that still had pinecones on them. Then I also added a few more little piece of greenery to give it a variety of textures. That was the basic wreath and all that was left to do was to embellish.
I chose to embellish mine with some winter berries and a few rosehips. I am thrilled with how it turned out. It is so natural looking and just screams Christmas! If you are in the Saanich area and you would like to try making your own wreath visit Russell Nursery for information on their classes. If you aren't interested in the classes, they do have a great selection of greenery and berries if you want to make your own at home.
Saturday, December 5, 2009
Christmas Craft: Gift Bags
Many years ago I gave up gift wrap. It just seemed so wasteful and almost a little pointless to spend all this time carefully wrapping something with beautiful paper that ends up in the trash (or recycling bin). So I started making cloth bags to use instead of gift wrap. The holidays are already so busy it's taken me a while to get a decent collection going but now I'm pretty much to the point where I have a bag in every size. It turns out that they are actually quite fun to make. I love picking out the fabric and what kind of closure to use. I've got velcro, buttons, a couple different kinds of ties and some that I use painted clothes pins to seal. It's definitely saved us time and money (I haven't had to buy wrapping paper, ribbon or even fabric for years!). Try some for yourself!
Sunday, November 29, 2009
Christmas Crafting: Candles
For these candles I used lead-free pre-waxed wicks from a craft store but you can use natural cotton wicks too (I didn't because they don't stand up on their own in the cup so it's an extra step to secure them). I got the tea cups at thrift store. The prices ranged from 49 cents to $1.99, so it was a good deal. I bought some natural beeswax from the craft store to use but found that I could melt down the leftovers from some soy-wax candles I got for Christmas last to make new candles. The wax was already pre-dyed and scented (eliminating yet another step). The only other thing I bought for this craft was an old cheap pot from the thrift store to melt the wax in (no matter how hard you try you can never get all the wax out of the pot).
All-in-all this was a really fun craft and really cost-effective. For each candle I believe the cost is between $5-$8 depending on the size, which is great considering some of the beeswax candles in my house now were purchased for $12 or more. I have decided that will definitely be making all my candles from now on. Not only is it fun to make the candle but I must say I really enjoyed hunting for those adorable cups.
Tuesday, November 24, 2009
A Winter Harvest
My first attempt a winter garden has not been going very well. I planted a little late and I got the cold covers on the plants after a frost. It definitely wasn't the best planning. We lost a few things in the frost but I think most might make it. My kale and spinach seem to be growing just fine. However the wet weather I think contributed to the cabbage and beets being demolished by slugs. I have some collard greens that may or may not make it. They were unfortunately caught in the frost. The parsnips and new brussel sprouts will be ok but they will definitely have to over-winter. The garlic appears to be unharmed by the cold weather but then again it is supposed to be over-wintered so I would expect it to be hardy.
The summer garden went so well though that a failing winter garden is really affecting us. Yes, I feel disappointed that some of my garden died and that other plants were eaten by bugs but the fact that it is the end of November hasn't had an impact on our diet. We've been eating a lot of the zucchini and beans we froze this summer and I've started cracking open the cans of fruit I preserved. I love that I put all the effort into it because now we are able to maintain our local, organic and health diet.
Above are some pictures of what we have been able to get from the garden this winter. Some very sweet carrots (not many but some) and some tender organic brussel sprouts. Brussel sprouts take a very long time to grow. They were some of the first things I planted in April and the first harvest was ready the second week of October. I will have to remember to plant early if I want brussel sprouts.
Saturday, November 21, 2009
A Gift from Hydro
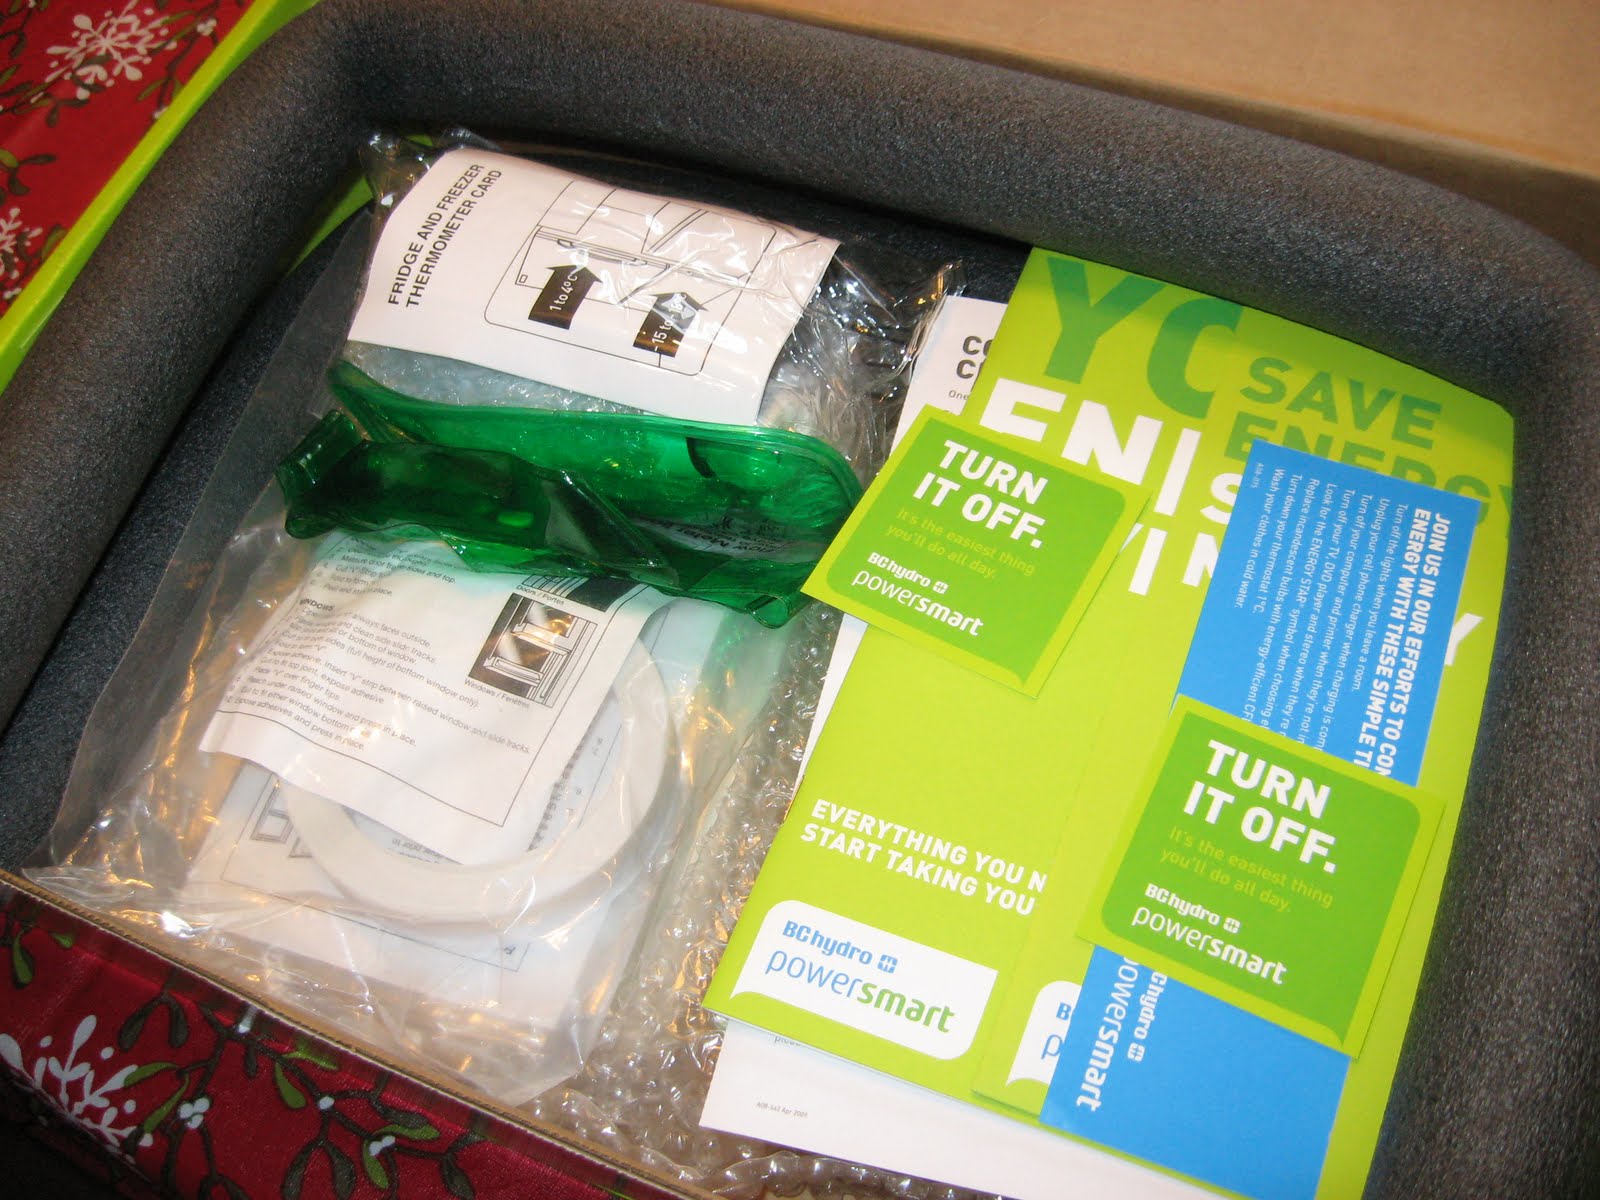
We got a nice surprise in the mail last week. We had applied for the BC Hydro Energy Savings Kit and I had almost forgot it was coming. It's a box of supplies meant to help to minimize your energy consumption and I think it is perfectly timed for the winter. It included 3 CFL lightbulbs, weather stripping, faucet aerators (both kitchen and bathroom), low-flow shower head, foam pipe wrap, an efficient nightlight, foam outlet and lightswitch sealers, outlet covers, fridge and freezer thermometers, a hot water thermometer, window insulator film and more. It comes with 2 types of weather stripping; foam and v-seal. We haven't decided which to use and where.
We had an energy audit last week as well. I'm really happy with our results. We scored at 76, which may not seem that great but in houses of our size and age the best score ever received was 80, so by that standard we are doing really well. The only major thing we have to fix is the seal around our front door needs some weatherstripping (so we got the box just in time).
My favorite item out of this kit has to be the low-flow showerhead. It is really fancy looking and it comes with 3 settings; spray, niagara and massage. Yes, massage! The nightlight is pretty cool. To run the nightlight for one year costs 26 cents, so I placed it in the living room so there is some light when we first come in the door at night. The faucet aerators don't fit our taps which was really disappointing since they are really nice and I'm all for reducing the amount of water we use.
Everything in the kit is really easy to install and you will see a difference on your hydro bill if you install the products provided and follow the energy saving tips that come in the booklet. I think the only tool you need to install anything is a screwdriver. The hardest thing install is probably the window insulator film and that is only because it is challenging to smooth out every wrinkle.
All-in-all I think this a great project by BC Hydro. Everything in the box can be put to good use and it really was great to get some help with energy savings. The box is free to anyone who qualifies. If you would like to learn more about the project, apply for a kit and/or see if you qualify visit http://www.bchydro.com/powersmart/residential/energy_saving_kits.html.
Subscribe to:
Posts (Atom)